


Homemade Yogurt
Here Divya presents a simple, comprehensive guide to making your own yogurt. Not only is fresh yogurt a great source of probiotics and bioavailable nutrients, it’s used to make other Ayurvedic staples such as digestive buttermilk and cultured ghee.
- SHARE:
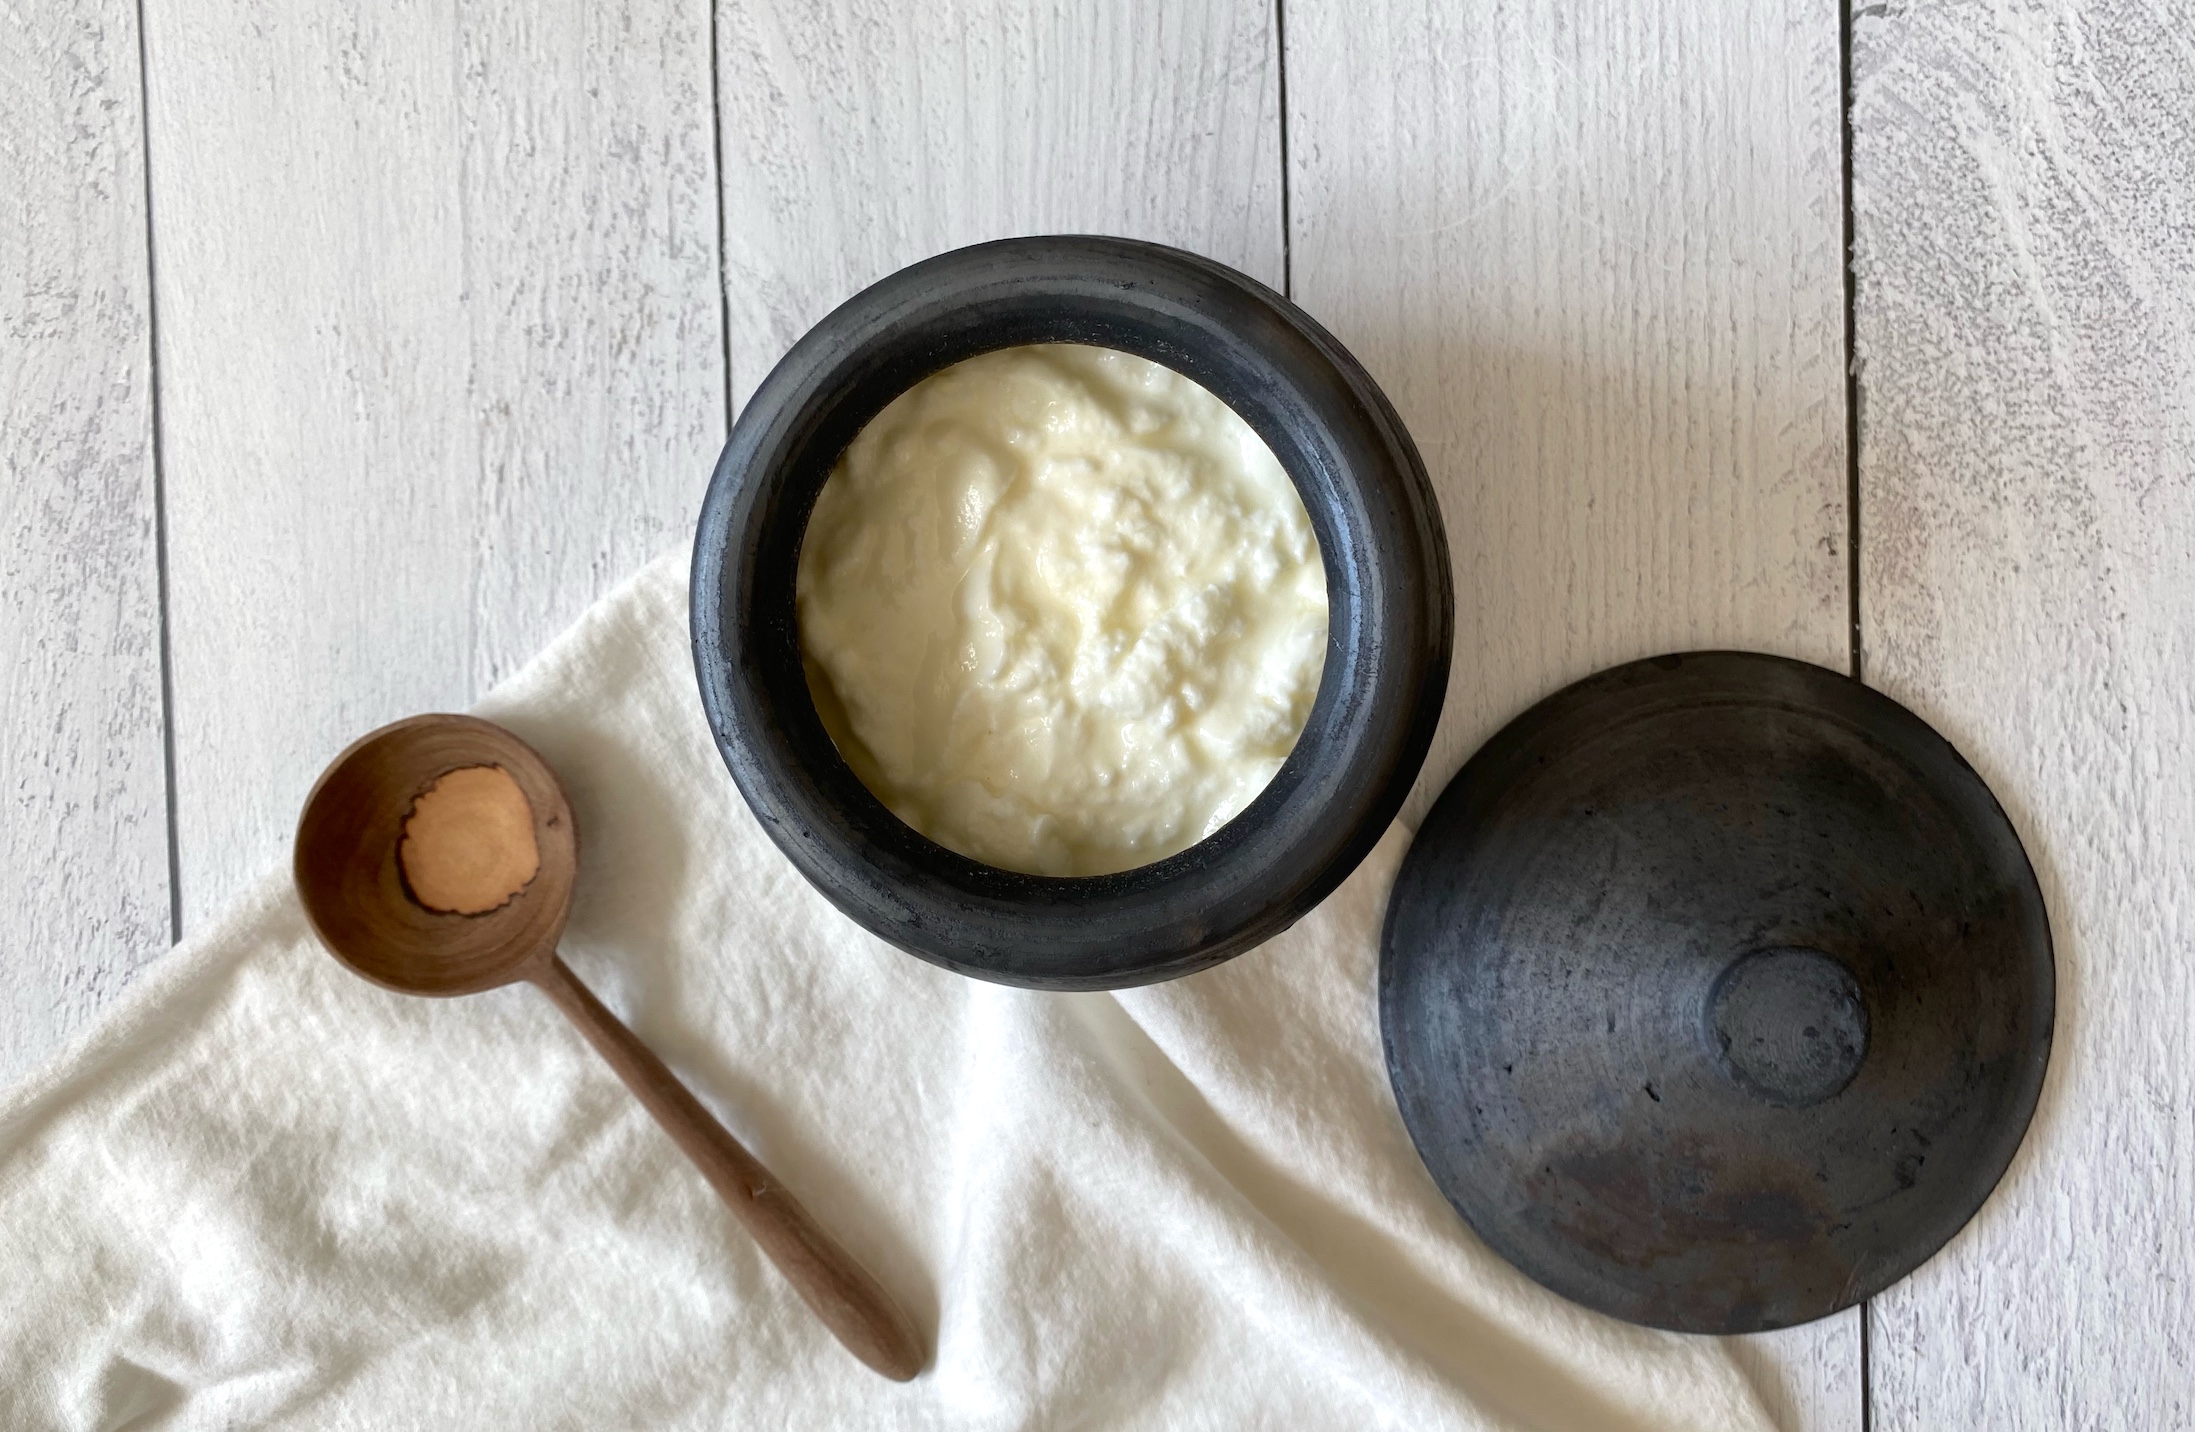
Photo Credit: Katerina Martin
Having grown up in Bulgaria (known for its exceptional yogurt) I am very attached to yogurt’s taste, probiotic strength and consistency—that’s why I like to make it myself.
A good-quality yogurt is a trusted source of healing friendly bacteria, protein, calcium, essential digestive enzymes and vitamin B12. For a person with good digestion, the bioavailability of these nutrients is about 80 percent; in other words, small amounts of yogurt consumed regularly will deliver these essential nutrients.
In my studies of Ayurveda, I’ve learned that there are three types of yogurt, based on taste: sweet, sour and very sour. The best quality yogurt is sweet with a slight sour and astringent aftertaste. This yogurt carries the many healing benefits listed below. Sour yogurt increases acidity and can be very aggravating for the Fiery and the Earthy.
Creamy with a bliss-producing layer of cream on top, homemade yogurt is far superior to its commercial counterparts, which are often tangy or slimy and packed with unnecessary stabilizers or preservatives such as gelatin, carrageenan, cellulose, pectin or cornstarch.
Many variables can affect the outcome of your yogurt, including timing, temperature, humidity, drafts and the quality of milk. Don’t be discouraged if you don’t get a firm set yogurt the first time. Try again; it’s worth the effort. For gourmet and therapeutic results, use the best quality milk and a thermometer with a range of 0 to 220°F, which you can find at kitchenware stores, restaurant supplies stores and online. I use the Natren yogurt starter for my first batch of yogurt and then save some of the fresh yogurt to start my next batch.
Makes: 1 quart (4 cups) | Gluten free; Dairy free
Ingredients
- 1 quart whole unhomogenized milk
- ¼ cup plain, full-fat yogurt
Instructions
Heating the milk:
Slowly heat the milk (medium-low heat) in a heavy 3-quart pan to 180 to 190°F and keep it at this temperature for 15 minutes, stirring occasionally. This will make the yogurt sweeter, thicker and creamier.
Cooling the milk:
Set aside ½ cup milk in a bowl and let it cool to room temperature. Whisk in the yogurt (your starter) to a creamy consistency.
Let the rest of the milk cool to 115°F. The longer the milk cools, the thicker and tastier the finished product will be. If you are pressed for time, do a quick cool by placing the milk pan in a kitchen sink or a bowl half-full of cold water (be careful not to splash water in the milk). You may also stir the milk to accelerate the cooling.
Use a thermometer to ensure proper temperature. A temperature of 110 to 115°F is important so that the bacteria will thrive and the yogurt will set properly.
Adding the starter:
Gently stir the yogurt starter mixture into the milk and mix thoroughly. Now the milk temperature should be near 108 to 112°F, which is ideal for starting yogurt. Leave the milk in a covered pot or bowl or transfer it to a jar or another container with a lid.
(continued below)
Incubating the yogurt:
Now is time for the friendly bacteria to grow and transform the milk into yogurt. The key is to keep it warm (85 to 110°F) for 5 to 6 hours. There are many ways to do that:
- Wrap the container in a clean towel or blanket and keep it in a warm spot.
- Place the container in a food dehydrator at 110°F.
- Keep it near a heater.
- Use a yogurt maker: follow the manufacturer’s instructions for incubation.
- Put it in a gas oven: heat to 200°F for 1 to 2 minutes, turn it off, and place the container on the top shelf in the back. Do not put yogurt in an oven above 120°F.
- Put it in an electric oven: heat to 200°F for 1 to 2 minutes and turn it off. Wrap the container in a towel and place on any shelf. Leave the oven light on. Do not put yogurt in an oven above 120°F.
- Be careful, because if the environment is too hot, the yogurt will sour before it sets and become very watery.
How Do You Know When It’s Yogurt?
Check the yogurt after 5 to 6 hours. If you are incubating overnight, stop the process as soon as you get up in the morning.
Yogurt is ready when it is thick and firm, with a custard-like appearance that separates from the edge of the container. If longer incubation is needed, check every 30 minutes.
Refrigeration and Storage
It is best to refrigerate the yogurt and leave it undisturbed for several hours until thoroughly chilled. This will firm it up and preserve its sweetness. As it is 100 percent natural, without any stabilizers or preservatives, the yogurt will release whey. This whey is good stuff—unlike whey from fresh cheese, yogurt whey is less acidic and rich in friendly bacteria; you can either mix it in or pour it into a cup and drink it as a probiotic. I like to use a teaspoon of the yogurt whey for facial masks to enrich my skin with friendly bacteria.
To benefit from the fresh yogurt’s sweet taste and strongest bacteria, it is best to use it within 5 days. As the yogurt ages, its probiotic properties will weaken and it will become more sour.
Notes
- Do not heat the milk in a microwave oven!
- If you do not have a thermometer and want to determine whether the milk is cool enough to add the starter, make your pinky a thermometer: if you can dip it in the cooling milk and hold for ten seconds, the temperature is about right.
- My favorite vessel for incubating yogurt is a non-glazed clay pot.
- If you make yogurt with a powdered starter, follow the product directions.
- If you’re making yogurt with raw milk, when you heat the milk, bring it to a full boil, then reduce the heat and simmer for 15 minutes.
- For the next batch of homemade yogurt, reserve the starter in a small jar and label it.
- If you make yogurt from goat’s milk, it may be more liquidy because goat’s milk’s protein-to-fat ratio is different from that of cow’s milk.
Troubleshooting
Too runny?
- Ensure that the milk temperature is between 110° and 115°F when you add starter.
- If the room temperature is cold, pre-warm your utensils with hot water.
- Avoid using aluminum utensils; they react to acid and may adversely affect your finished yogurt.
- Your heat source temperature during incubation should be constant.
- Do not heat in a microwave oven.
Too lumpy?
- This could happen when the yogurt starter is not distributed evenly or when you use too much of it (the bacteria will be crowded into making lumpy yogurt).
- Use only the recommended amount of starter and thoroughly into the cooled, pre-treated milk.